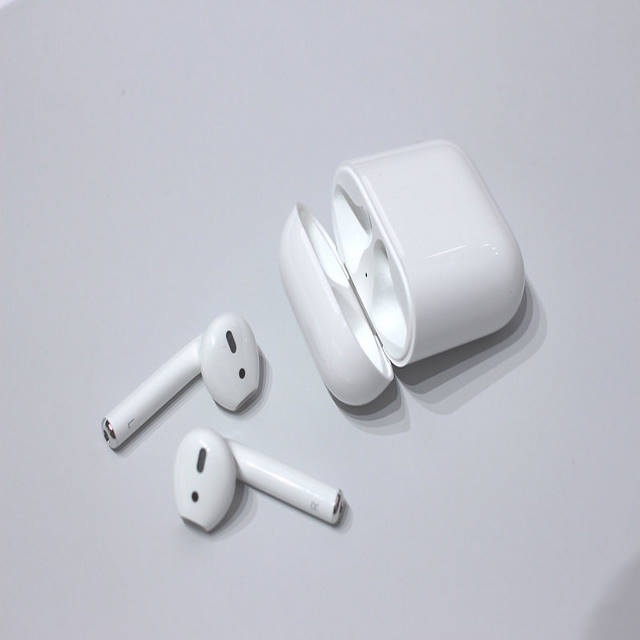
connect AirPods to windows 10
As we said in our previous post, we provided instructions on how to connect your AirPod to your Macbook devices such as the Air and Pro.
Now we’re going to pay attention to Windows PCs and how you may connect your AirPods to your Windows 10 or 11 PC or laptops as well as any other Windows devices.
Connecting your AirPods to your PC is quite similar to connecting your AirPods to your Macbook device, with a little change. So, with this quick guide, you’ll learn how to connect your Apple AirPods to your Windows PC with ease.
How to connect AirPods to Windows 10
- Just like the MacBook, you go to your Bluetooth settings on the Windows PC
- Turn on your Bluetooth connection for your window PC
- To locate your Bluetooth settings, move your mouse to the right corner and right-click on the arrow
- A few icons will show, find the Bluetooth icon and right-click on it
- From the list, select “Add a Bluetooth device”
- Now head back to your AirPods and turn on the discovery
- You press and hold the light at the back of the airpod case, wait till the light turns white then leave it.
- Now go back to your Windows PC, and on the Bluetooth menu, your airpod should pop up there
- Click on your AirPods to connect it.
That’s it. Your AirPods should be successfully connected to your Windows PC now.
Why won’t my AirPods connect to Windows 10?
Your AirPods connect to Windows 10 or 11 because there might be other devices still connected to your AirPods. What you need to do is disconnect any device that is still paired to your AirPods to make way for you to connect to windows 11.
Or Your windows 10 or 11 Bluetooth might not be turned on. Check your windows settings to see if your Bluetooth setting is on and set to discovery too
If you enjoyed this article please share this article, it will go a long way for us. Also, subscribe to our newsletter, follow us on Facebook, Twitter, Pinterest, Google News, and Instagram for more
Source: fifty7tech.com


